

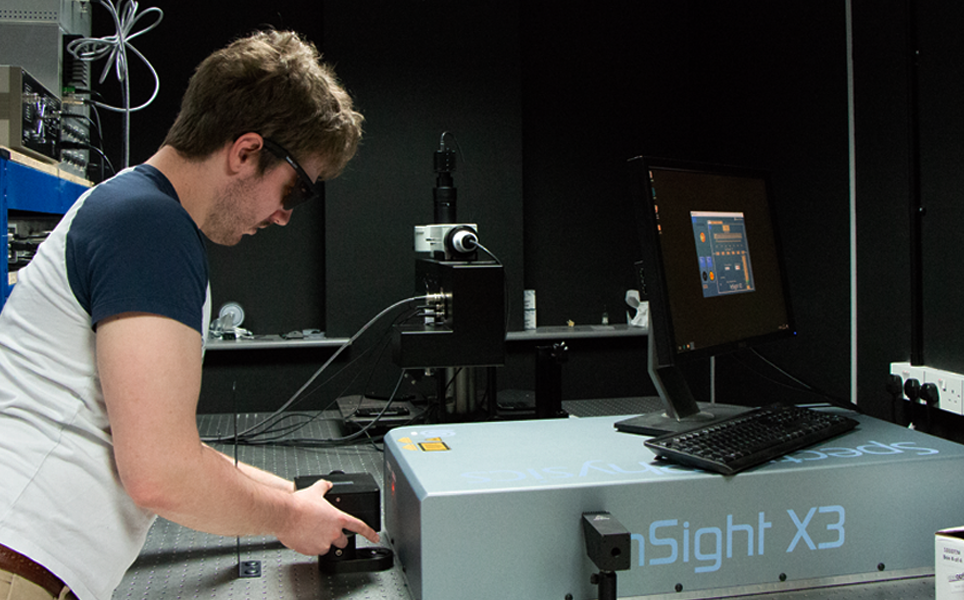
#LabHacks: How to align your laser for two-photon imaging
Two-photon microscopy uses a laser to excite fluorescent molecules (fluorophores) within a sample through emitting short pulses of light at high power. This step-by-step guide demonstrates how to safely align a laser for two photon microscopy.
In traditional fluorescence microscopy, one photon of light of a specific wavelength excites a fluorophore molecule in the sample, leading to fluorescence emission. Two photon microscopy utilises two photons of half the energy (and thus twice the wavelength), that interact with the fluorophore within the timescale of attoseconds of each other, exciting the fluorophore and causing fluorescence emission.
Benefits of using two-photon excitation include specifically exciting fluorophores only in the actual focal volume and reduced phototoxicity and photobleaching. Two photon microscopy enables excitation of fluorophores deeper in tissue, as the light used is a longer wavelength so can penetrate deeper into tissue.
Safety advice
Anybody working with lasers should be fully trained and follow the applicable institutional and national laser safety guidelines and legislation. These safety tips are for guidance only and can no way replace laser safety training.
- Do not enter laser rooms unless trained or accompanied by someone who is trained and authorised
- Do not look into the laser beam
- Wear suitable laser safety eye-wear
- Keep room lights on brightly if possible
- Locate and terminate all stray laser beams at an absorbing or diffusely reflecting surface
- Avoid stray laser beam reflections as they could be hazardous to the eyes and skin
- Remove all personal jewellery, including watches
- Clamp all optical components
- Be cautious using IR Detector Cards with glossy surfaces
- Do not use reflective tools
- Keep beams horizontal, if this isn’t possible, be very careful with non-horizontal beams (e.g. flipping mirrors and periscopes)
- Ensure beams are well above or below eye level
- If you need to bend down, always look away from the table
- Do not bend below beam height
- Be extremely cautious when leaning down to beam-level
- Think twice before leaning to table level to get a better look at your experiment
- Do not forget non-optical hazards (e.g. tripping, fire risk)
- Encase the beam as much as possible using beam tubing
- Shutter the beam when putting optical elements, such as mirrors, in place
- Use a beam block behind each optical component to ensure there are no stray laser beams while setting up the next element
The equipment
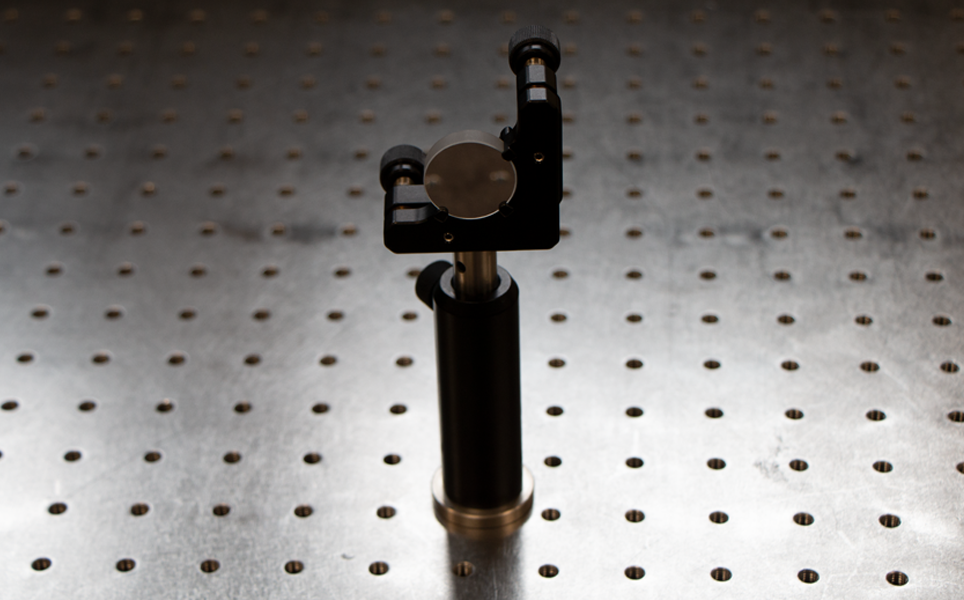
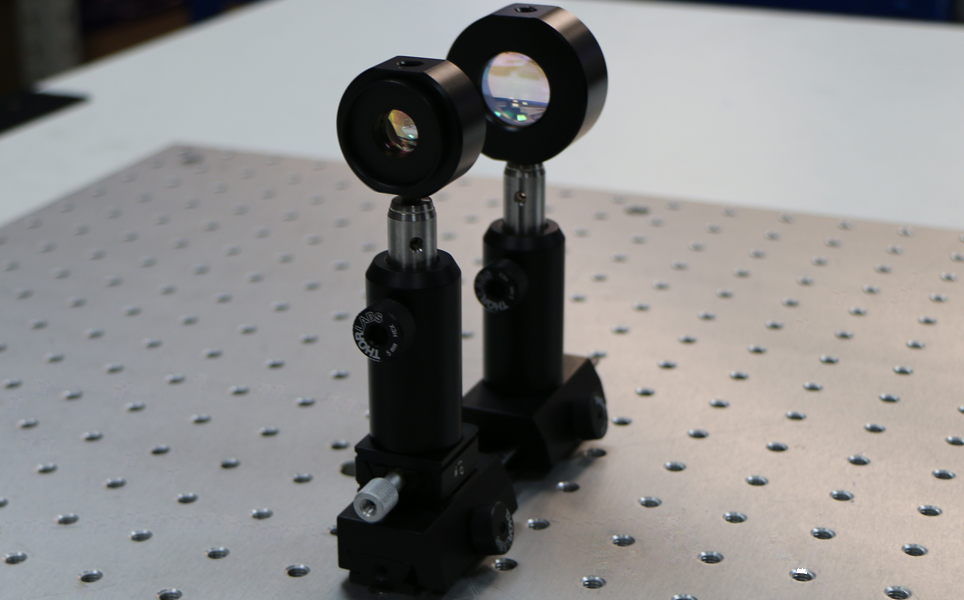
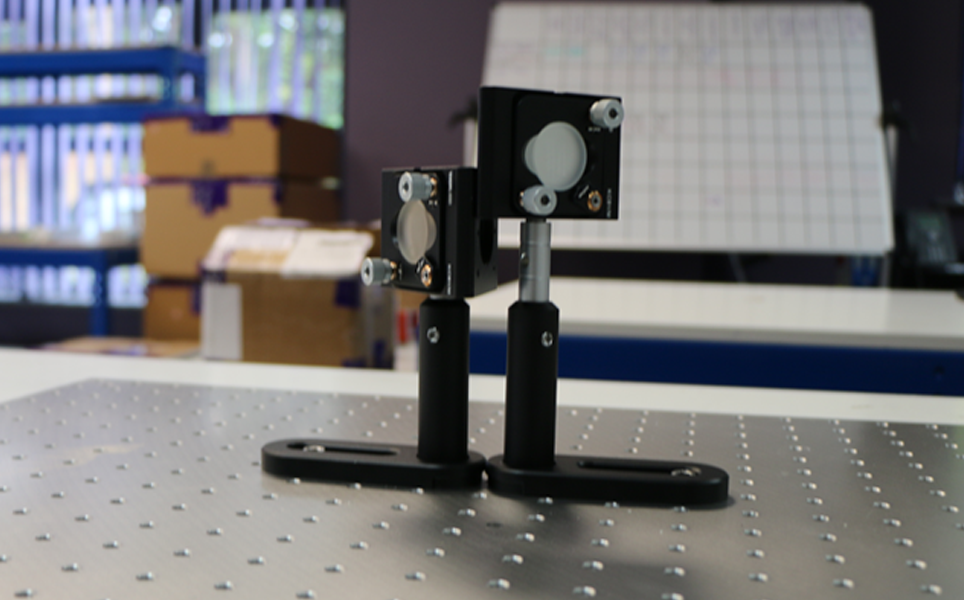
Steering mirrors
Used for gross beam steering and fine directional tuning.
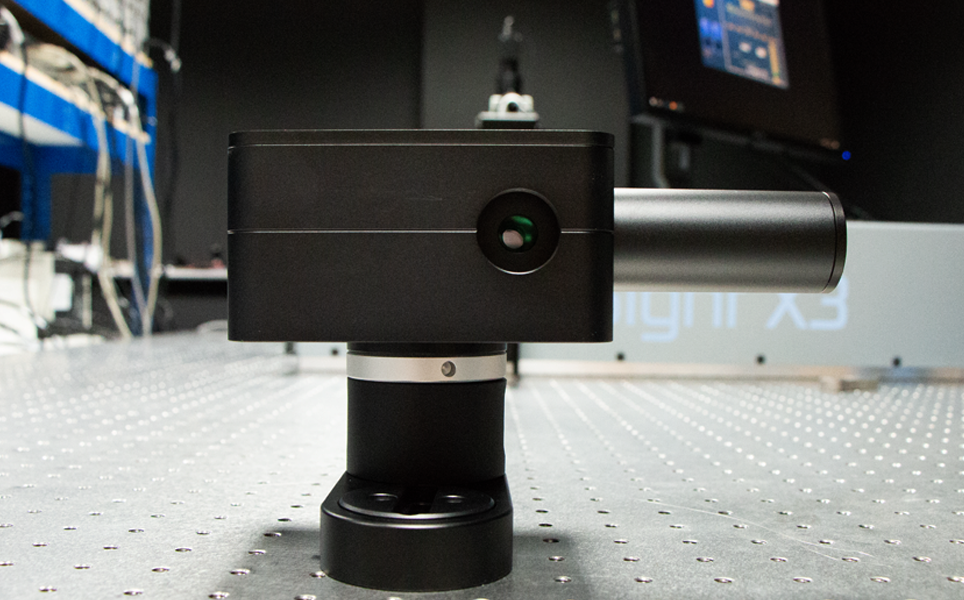
Manual Intensity Controller
This changes the intensity of the beam. It attenuates the beam before it enters a Pockels cell, in order to control the maximum energy through the system. This is only needed if the available laser power exceeds the input level of the Pockels cell.
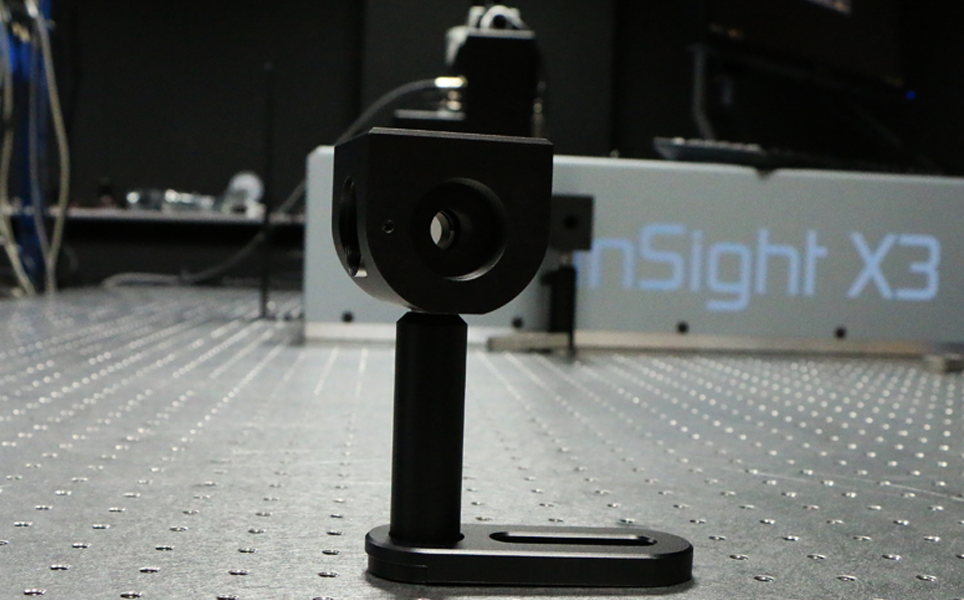
Shutter
Blocks the beam when it isn't being used. The shutter only opens immediately prior to image acquisition to protect the sample from the laser beam and the user from exposure to stray laser beams.

Pick mirror
Samples the beam to inform you of the power of it.
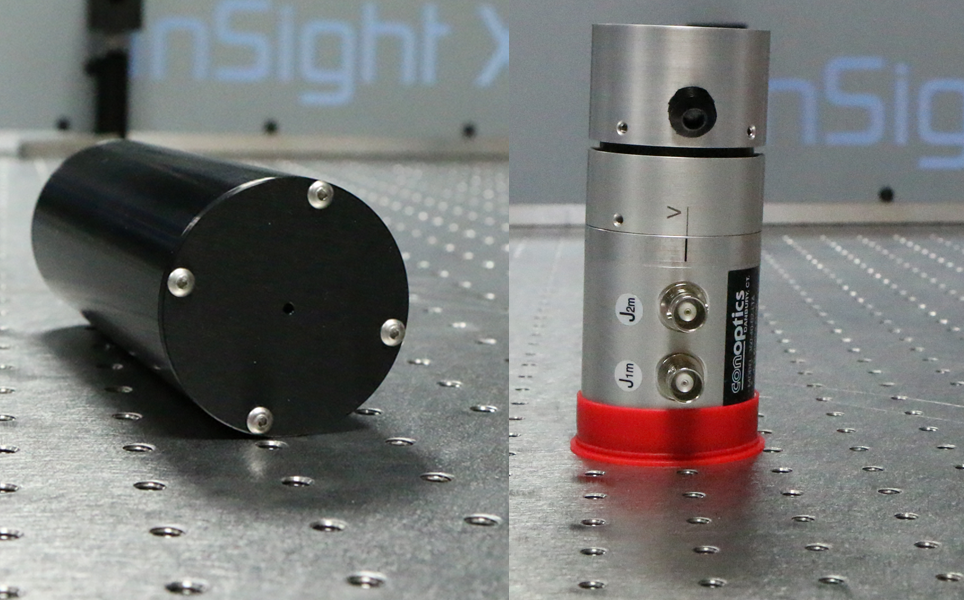
Pockels cell
An electro-optical modulator that attenuates and controls the beam when speed is essential, for example in photostimulation experiments. This is faster and more precise than using the half-wave plate/polarising beam splitter units or Neutral Density filter wheels.
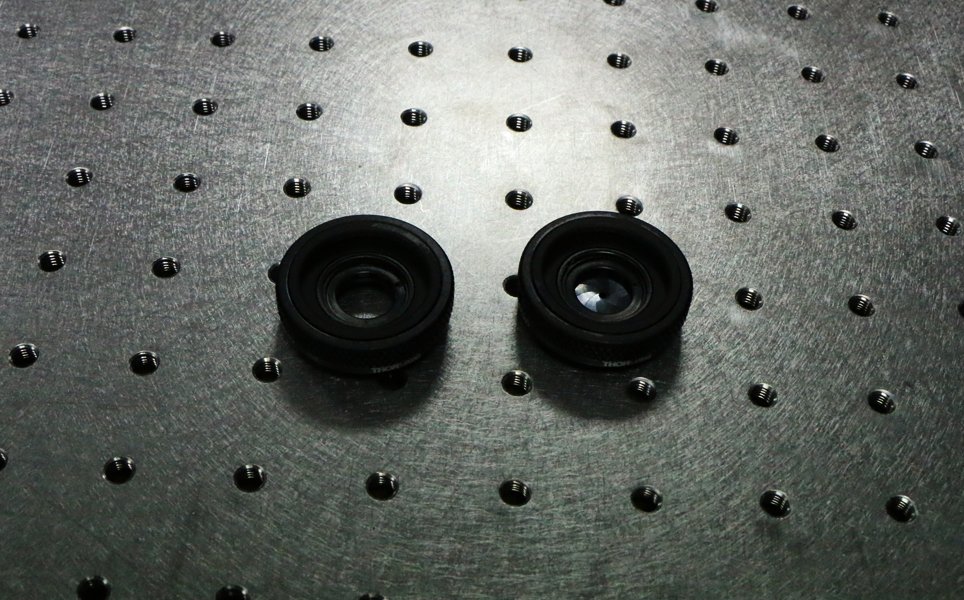
Beam expander
The beam expander increases the diameter of the laser beam in order to properly overfill large back aperture objectives.
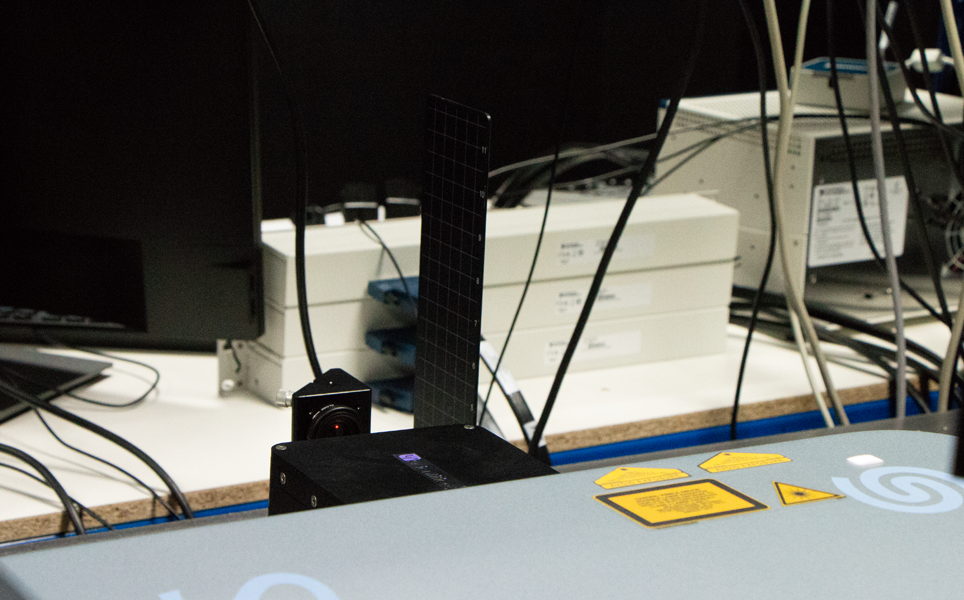
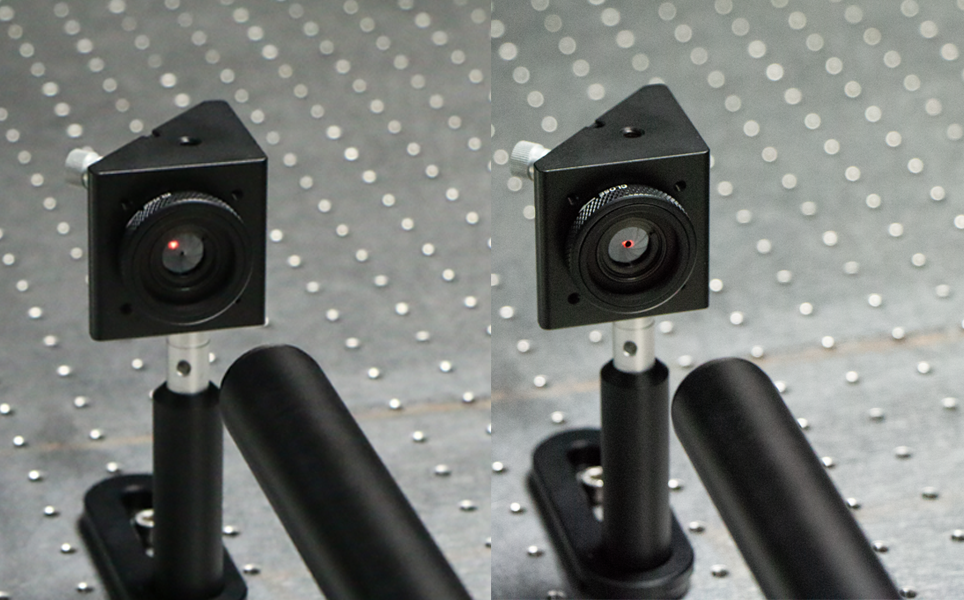
Irises
The laser is aligned to the centre of the irises.
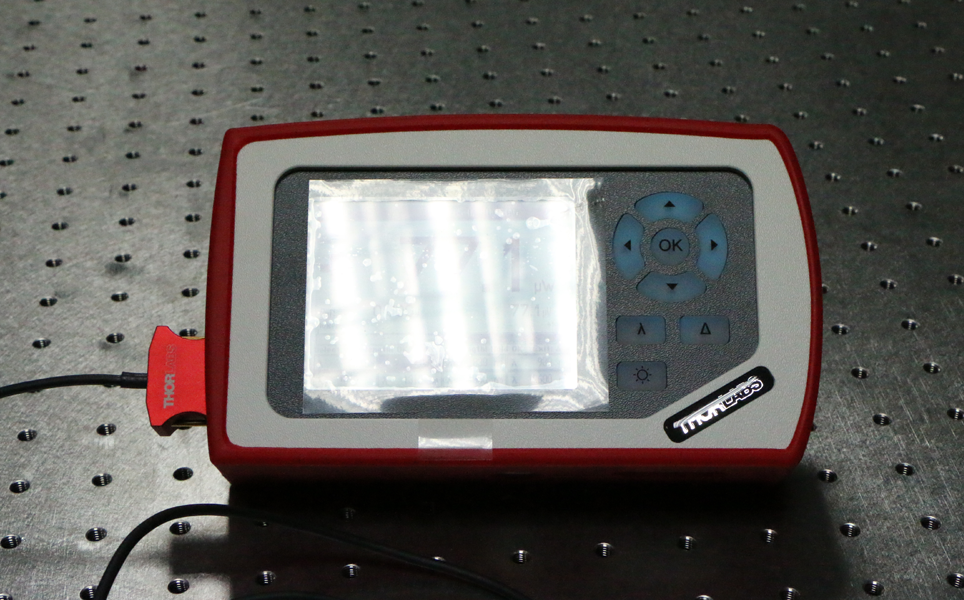
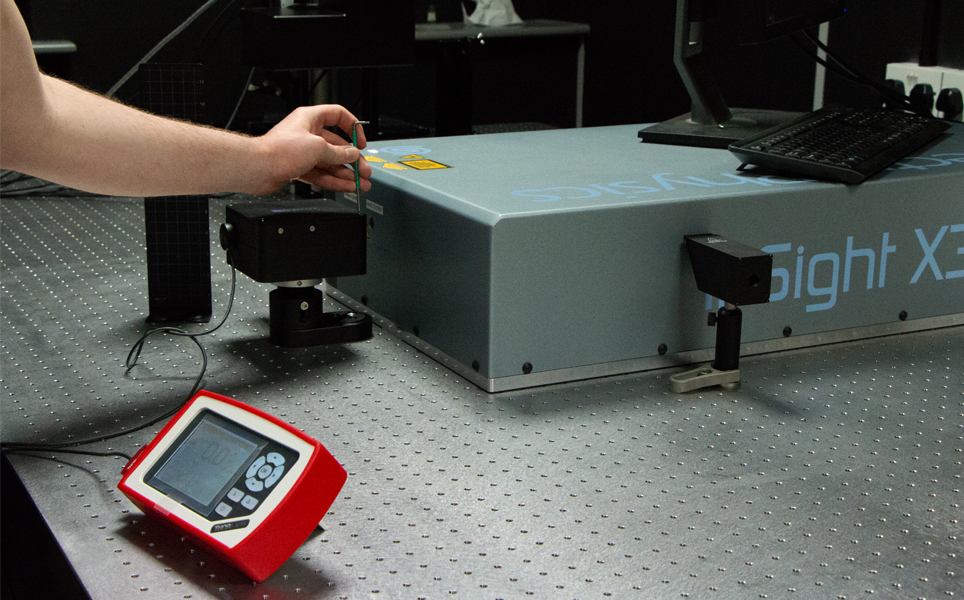
Power meter
Used to measure the beam power.
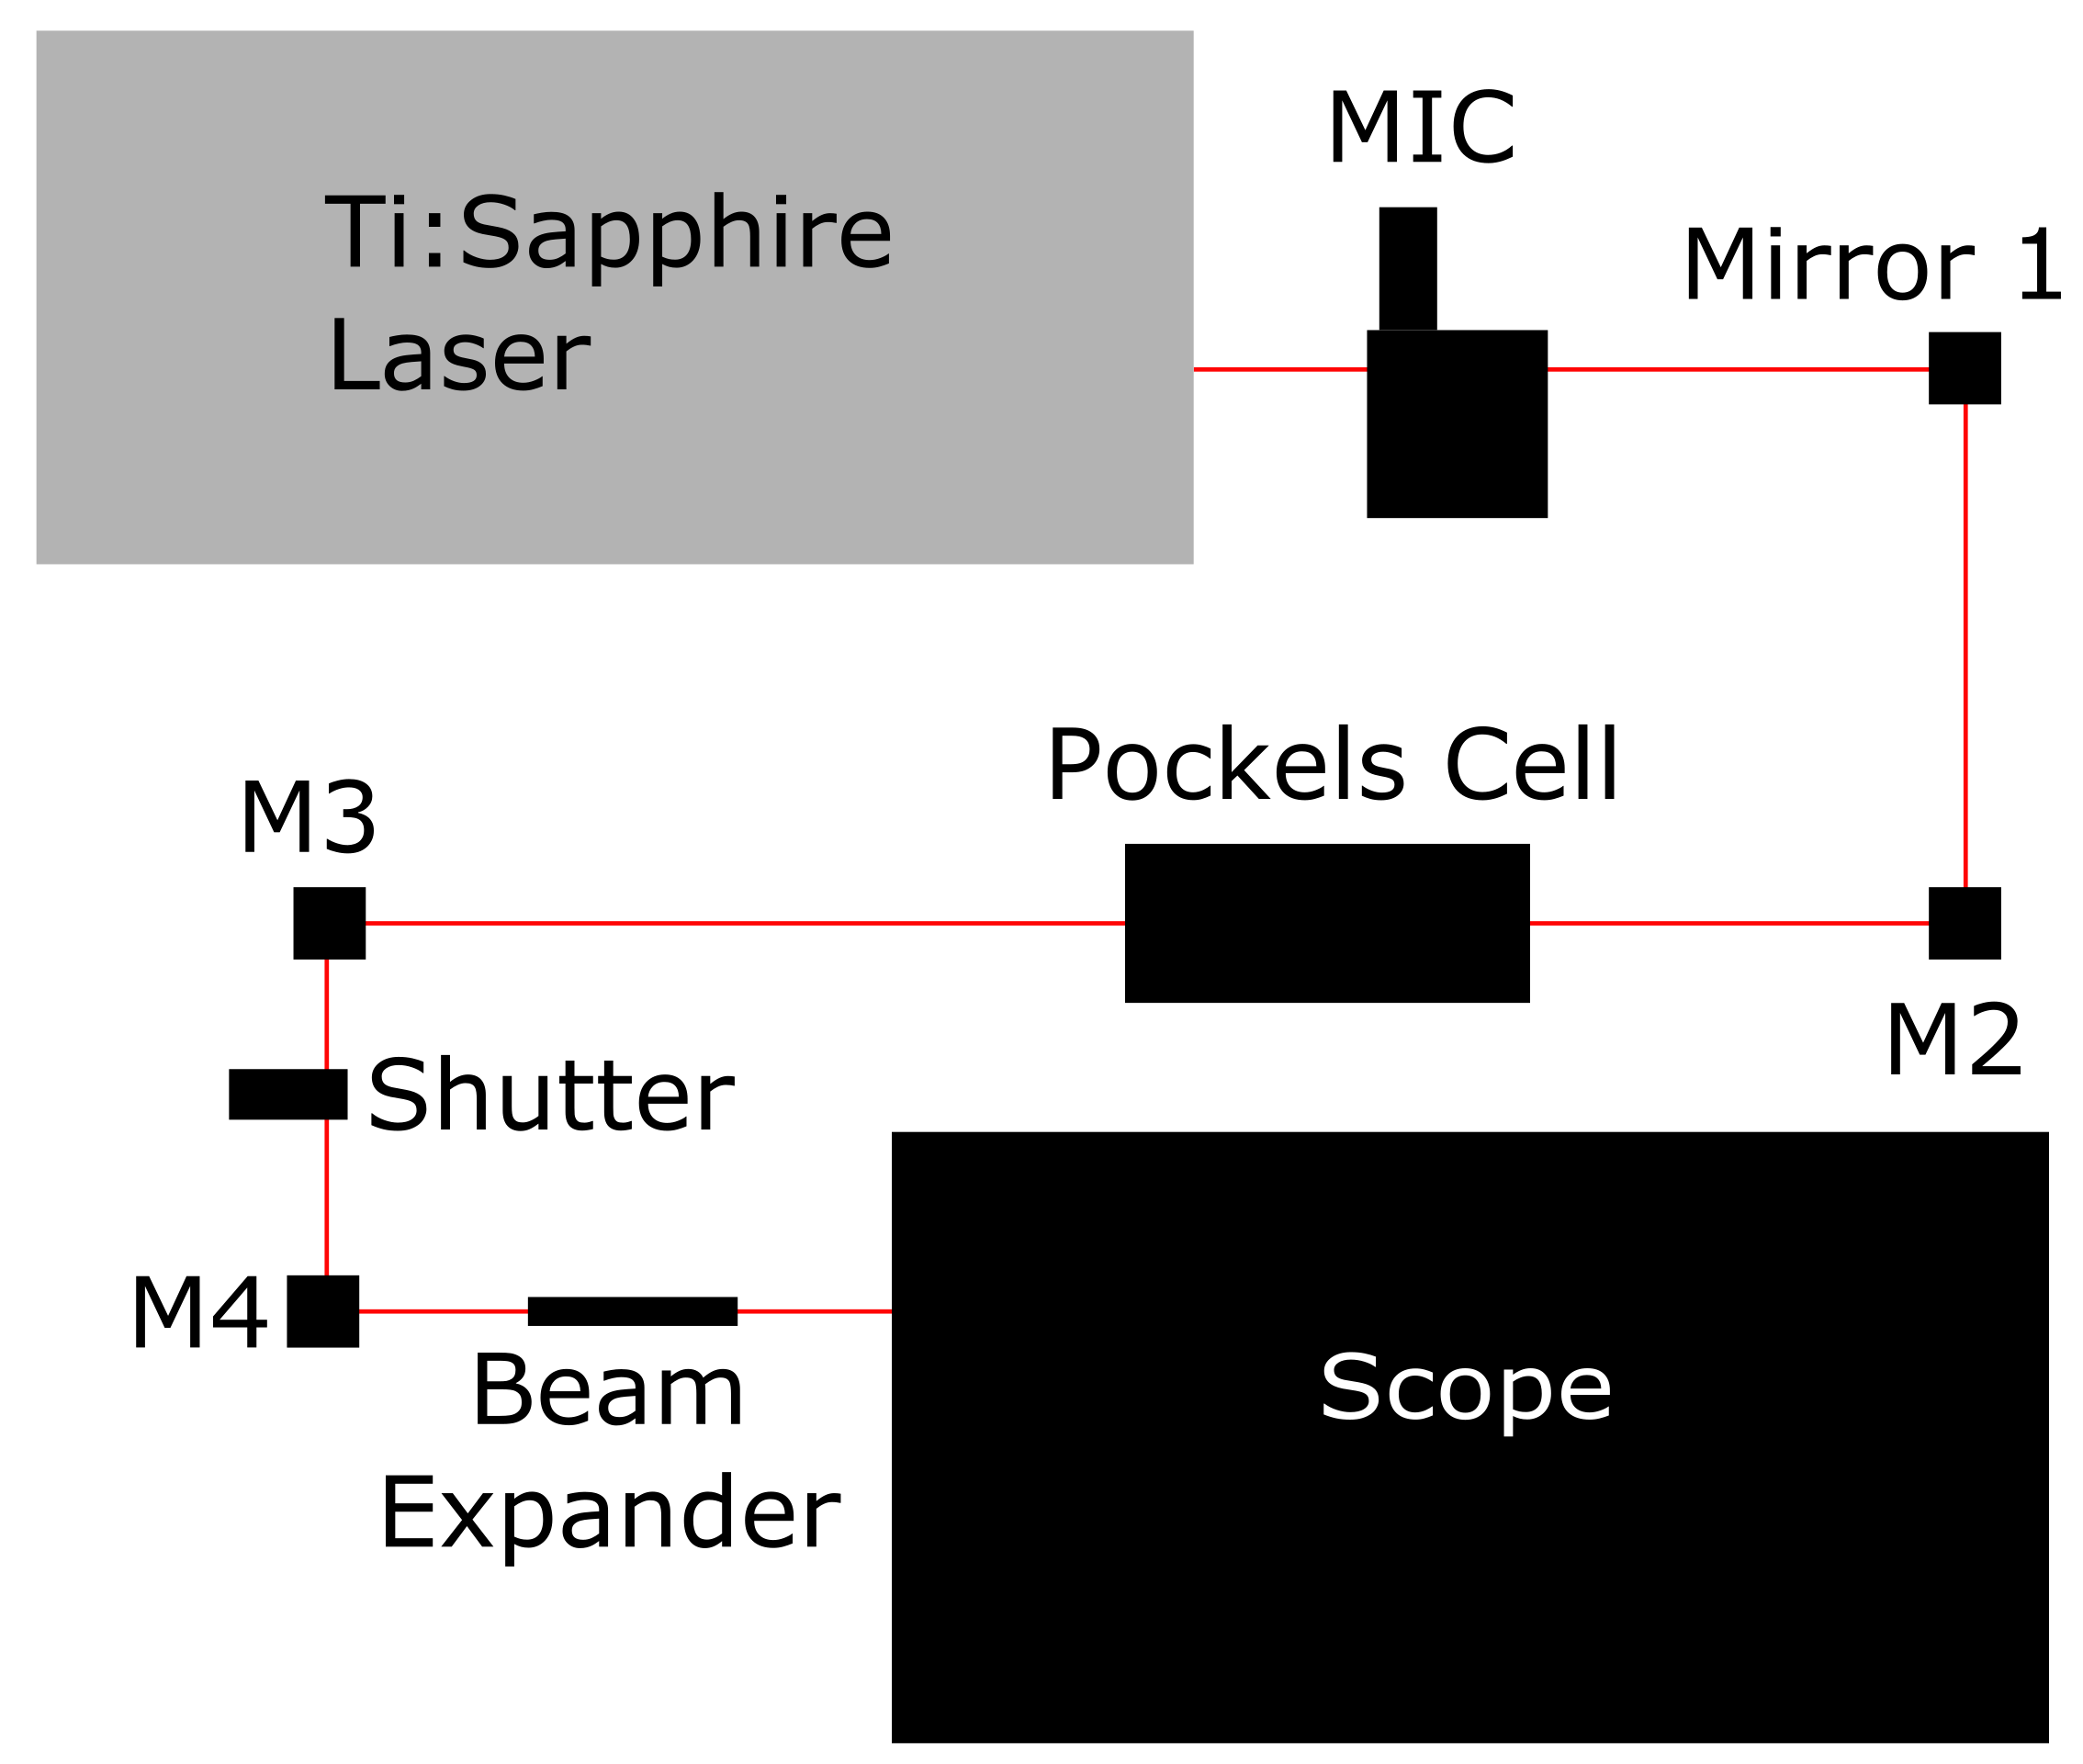
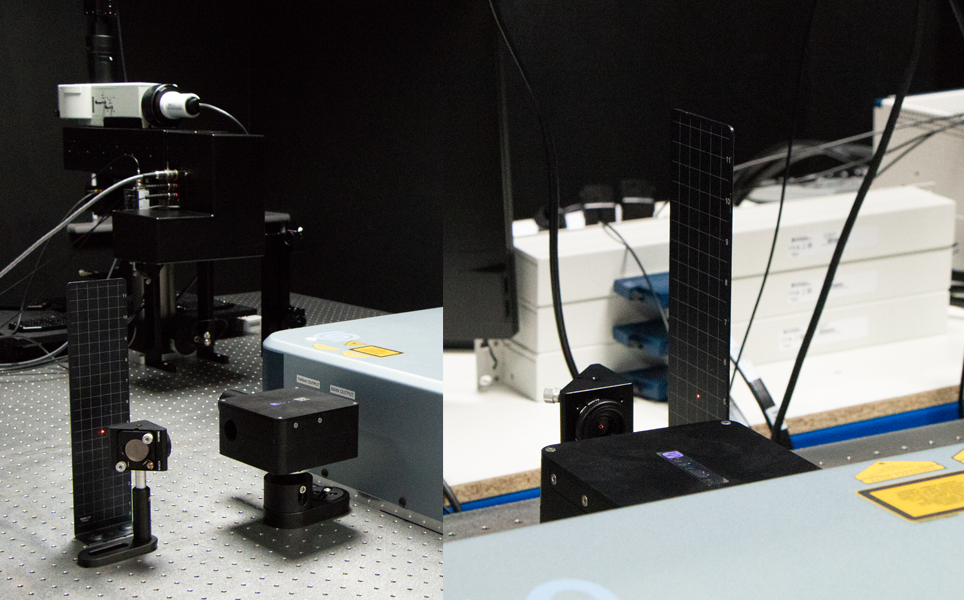
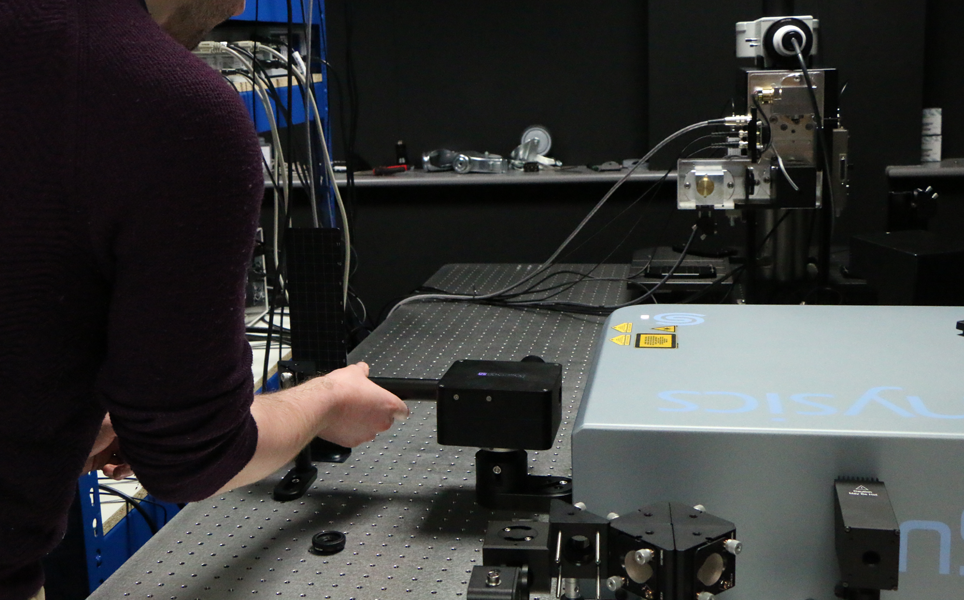
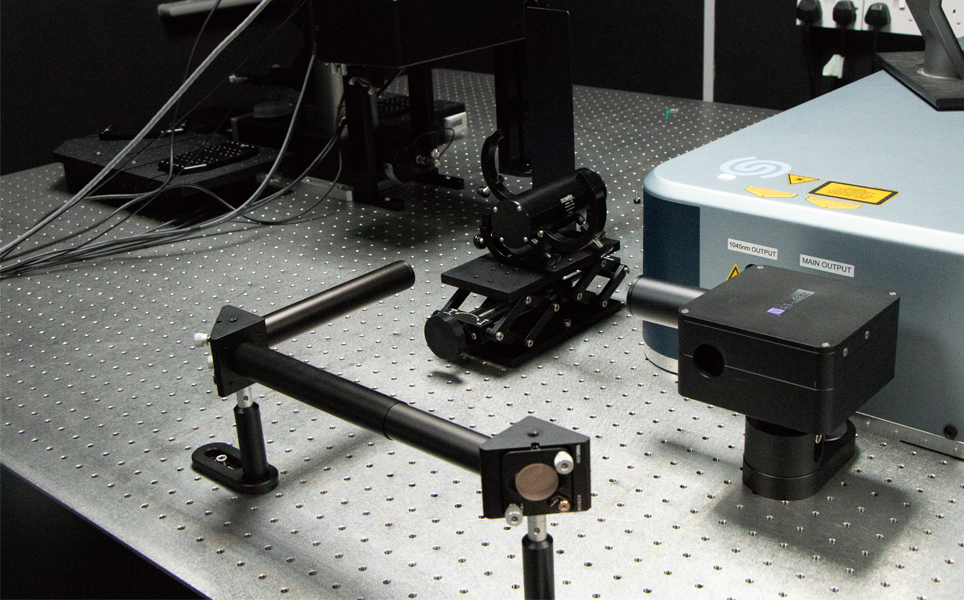
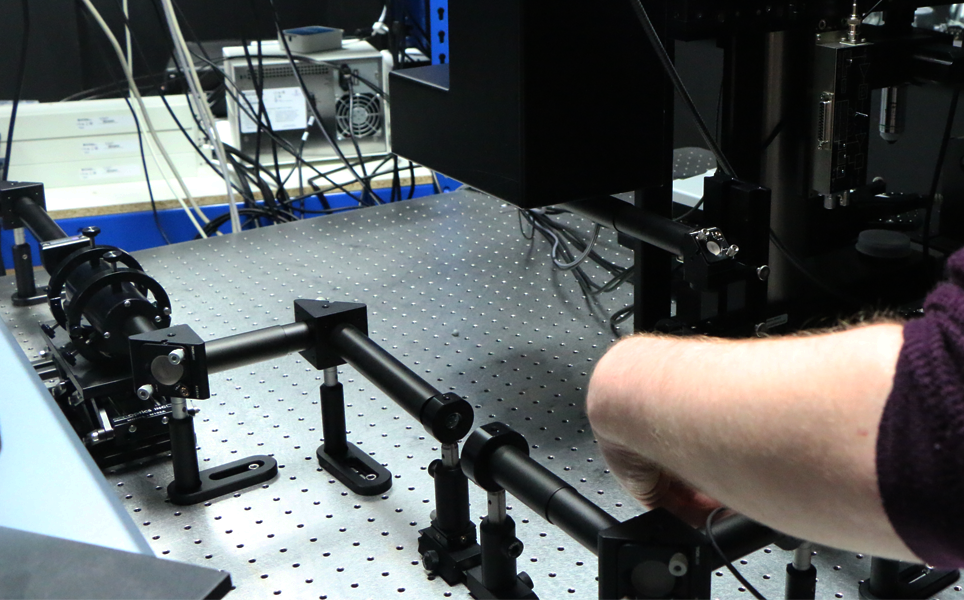
Example multiphoton table layout
Aligning the laser
1. Plan your light path, depending on the amount of space you have available. Where will you place mirrors and Pockels cells? Where will your attenuation be? It is best to have at least two mirrors in front of Pockels cells and beam expanders to help with alignment.
2. Position mirrors, Pockels cells and any other equipment where you have planned it to be.
3. Put the laser into alignment mode. The alignment mode should never be used for more than 20 minutes, followed by at least a 10 minute break to allow the laser to cool off.
Please note, the alignment mode of the laser does not protect eyes; it is designed to protect equipment
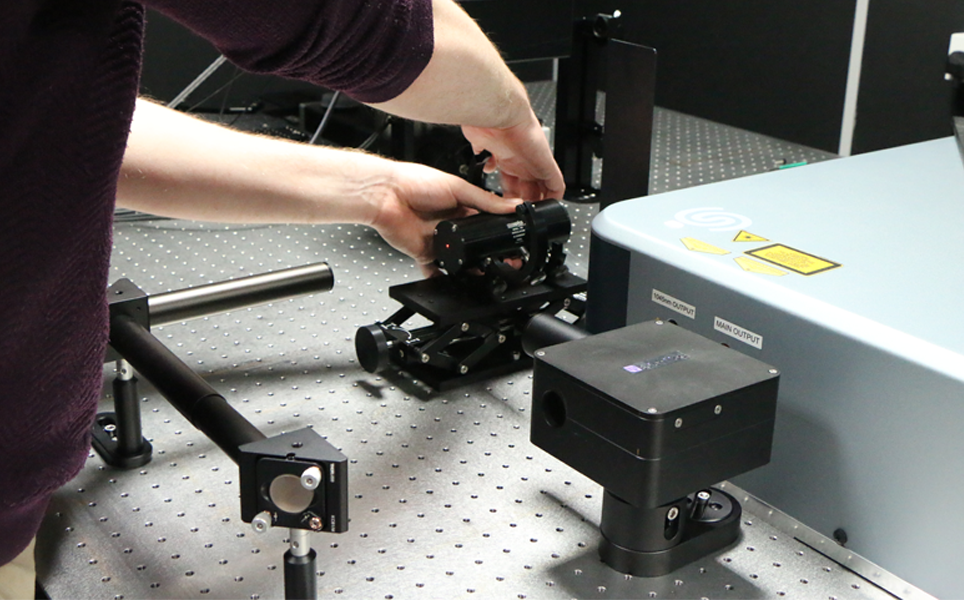
4. Attenuate the laser by lining up the manual intensity controller with the laser output. Once this has been aligned, open the Manual Intensity Controller lid and rotate the half waveplate to attenuate the beam.
We attenuated the beam from 200mW to 30mW using the manual intensity controller and power meter.
5. Shutter the laser to avoid injury.
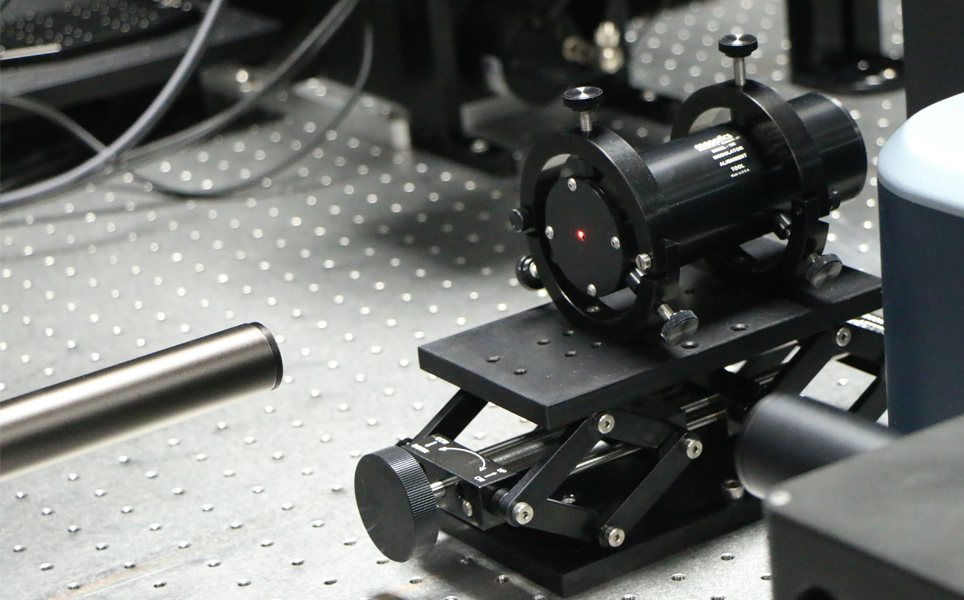
6. Attach irises to the front of the mirrors. The laser will be aligned to the centre of the irises.
7. Unshutter the laser.
8. Set the height of the first mirror – the beam needs to hit the centre of the iris. Use a set screw to loosen and adjust the height of the mirror accordingly. Use a beam block to stop stray beams.
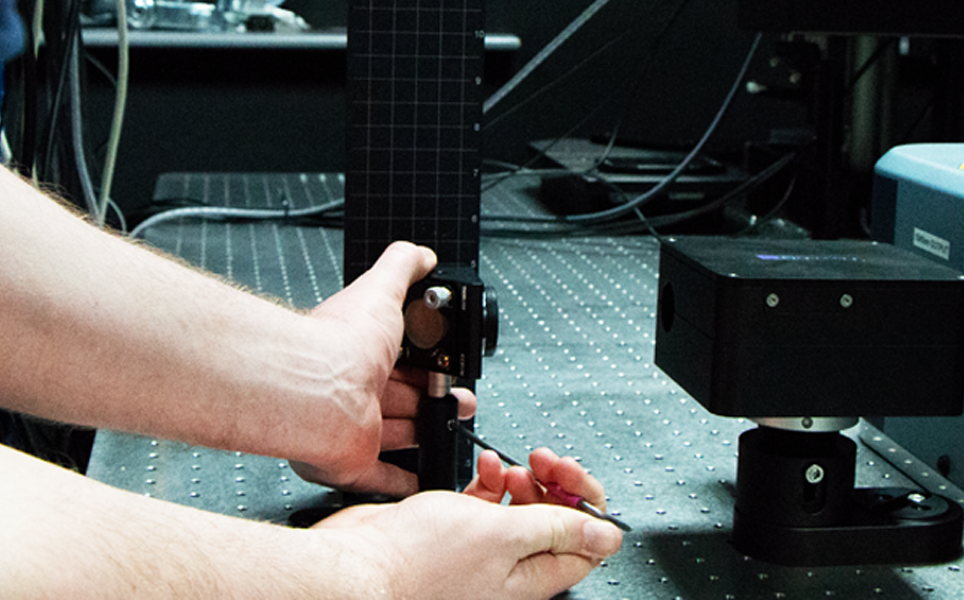
9. Use this first mirror to set the height of the other mirrors – this can be done in two ways:
a. Using a cage plate, insert rods into opposite holes on the two mirrors and then join the two mirrors together to ensure they are the same height. This method is the most accurate.
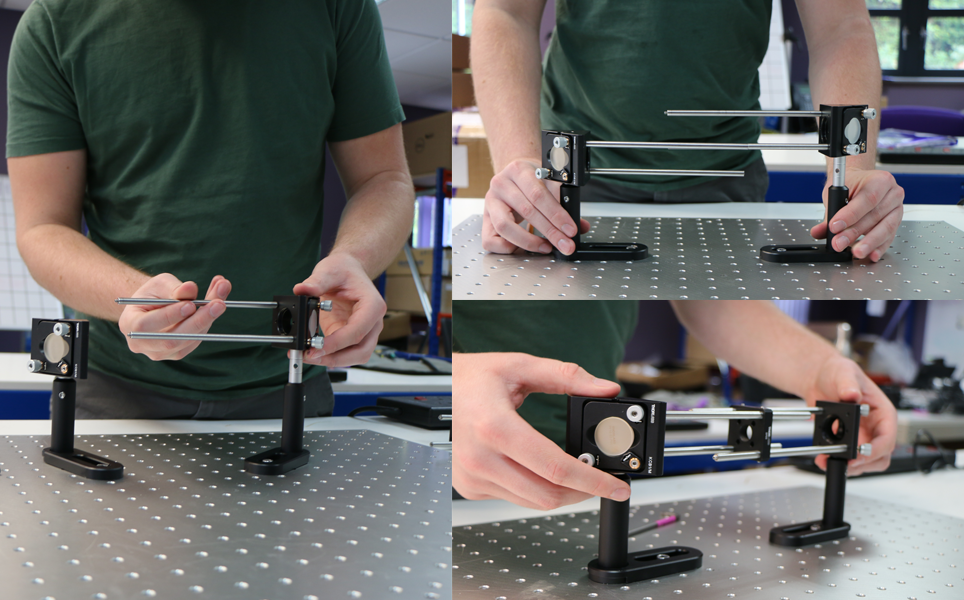

b. Screw a beam tube into the two mirrors then align them – the tubes should be able to slide in and out with as little resistance as possible.
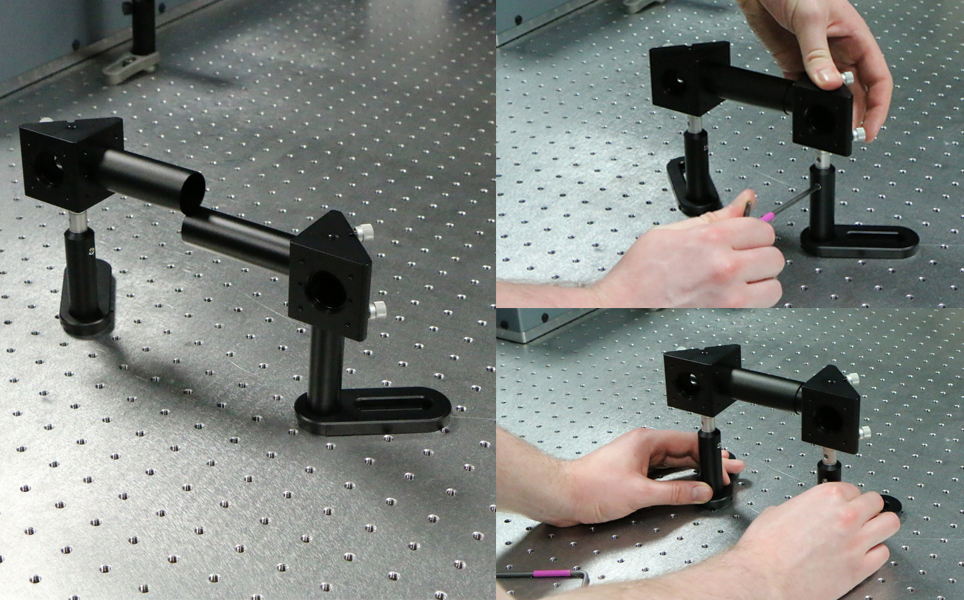
10. Put the mirrors in place, again ensuring they are correctly aligned so the laser spot is in the centre of the iris.
To prevent injury, remember to shutter the laser before positioning each mirror, and add a beam block behind each mirror to prevent stray laser beams causing injury. Also, use beam tubing to help prevent injury from stray laser beams.
11. Using two mirrors enables you to alter the direction as well as parallel shift the laser beam, making it easier to align the beam expander and Pockels cell. If the beam is not aligned, it will not go through the Pockels cell.
12. Optimise the alignment for the Pockels cell. Walk the beam* to ensure it travels through the centre of the Pockels cell. Using two mirrors, make sure the light is turning at a 90 degree angle. Ensure a beam dump is used to block the rejected beam from the top of the Pockels cell (this is not shown in the image below as a dummy is being used).
*See next section for how to do this.
13. Close the Pockels cell holder using the screws on the side, to make sure it stays in place. Once you have done this, fine-tune the Pockels cell alignment.
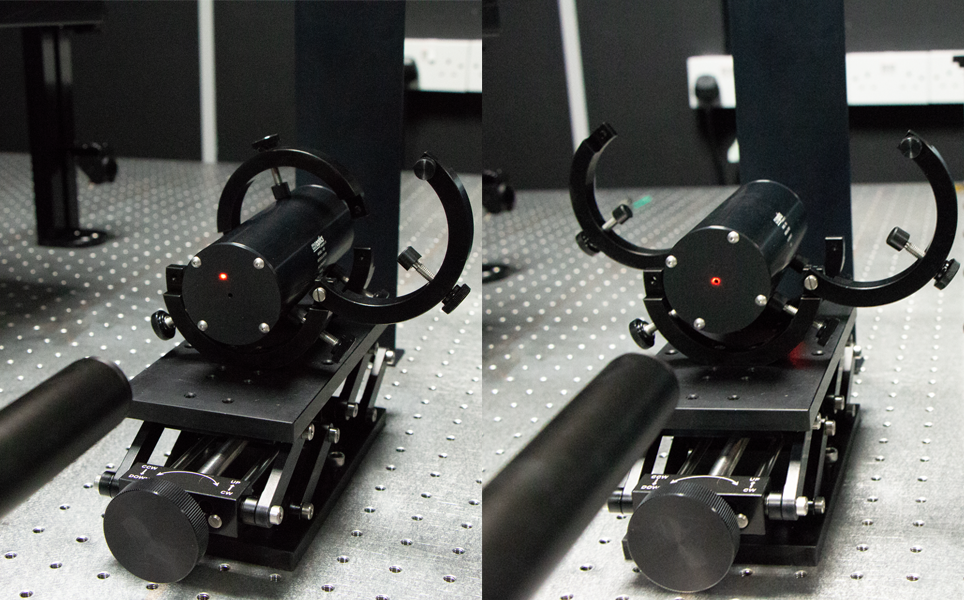
14. Optimise the alignment for the beam expander. Walk the beam* to ensure it travels through the centre of the beam expander. Use two irises, placed either side of where the beam expander will be positioned, for guidance. If the beam is misaligned through the beam expander, it will exaggerate the direction of the beam.
*See next section for how to do this.
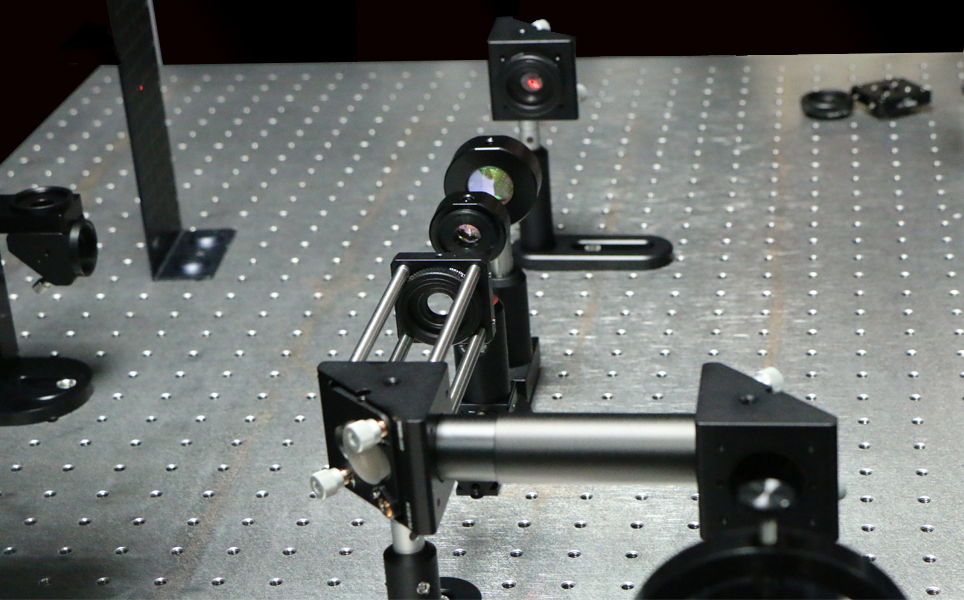
15. The beam expander expands and collimates the beam, so when you move the beam block, the size of the beam should remain the same. If it gets bigger or smaller, the distance between the two lenses is incorrect.
16. Install the final mirrors, you will use this to align the beam to the periscope, which couples the light into the microscope.
17. Install the shutter and pick mirror. These can be positioned anywhere, as long as they are positioned after the Pockels cell. Mirror realignment will be needed now, as the pick mirror parallel shifts the beam.
18. Ensure the mirror and bottom of the periscope are at the same height.

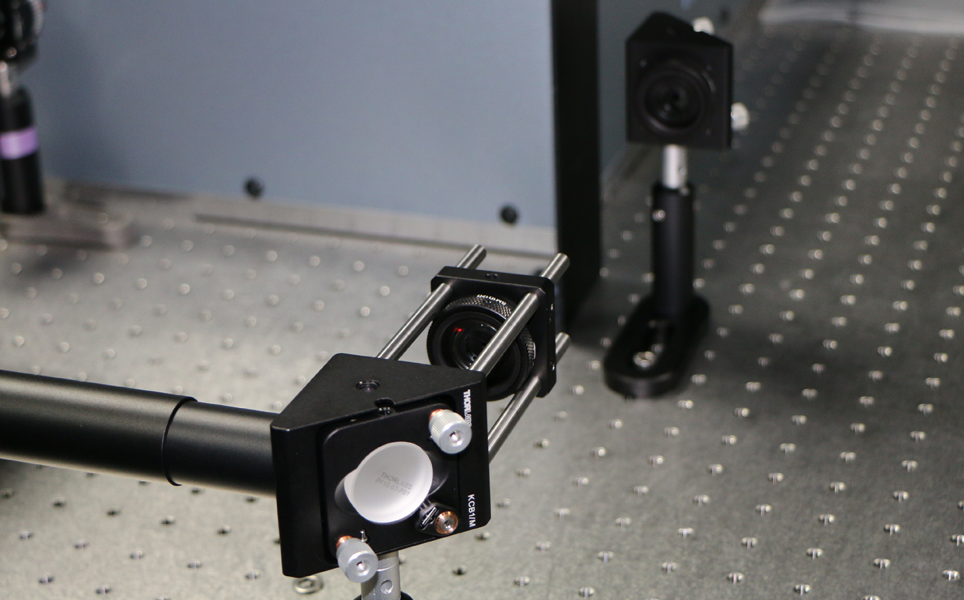
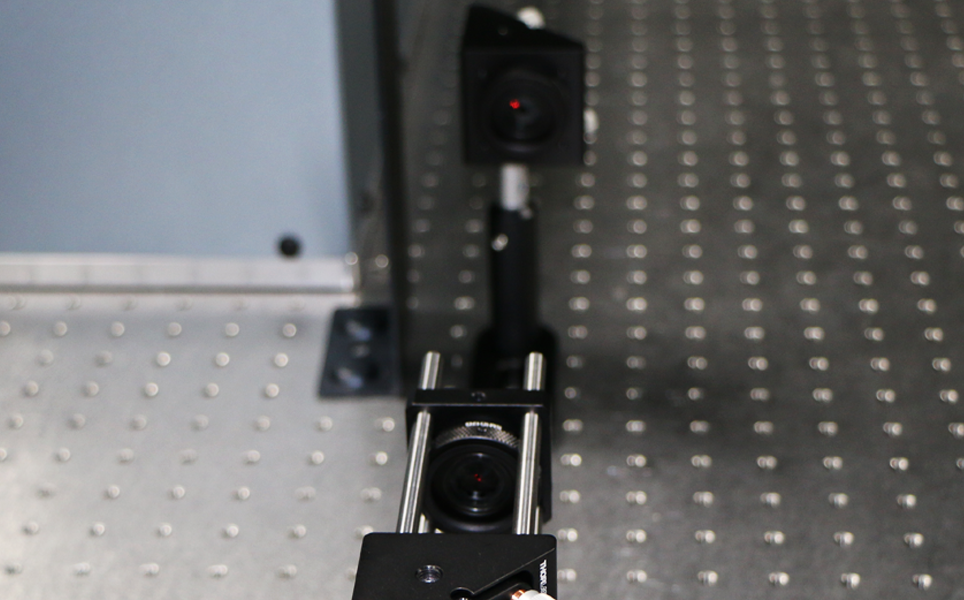
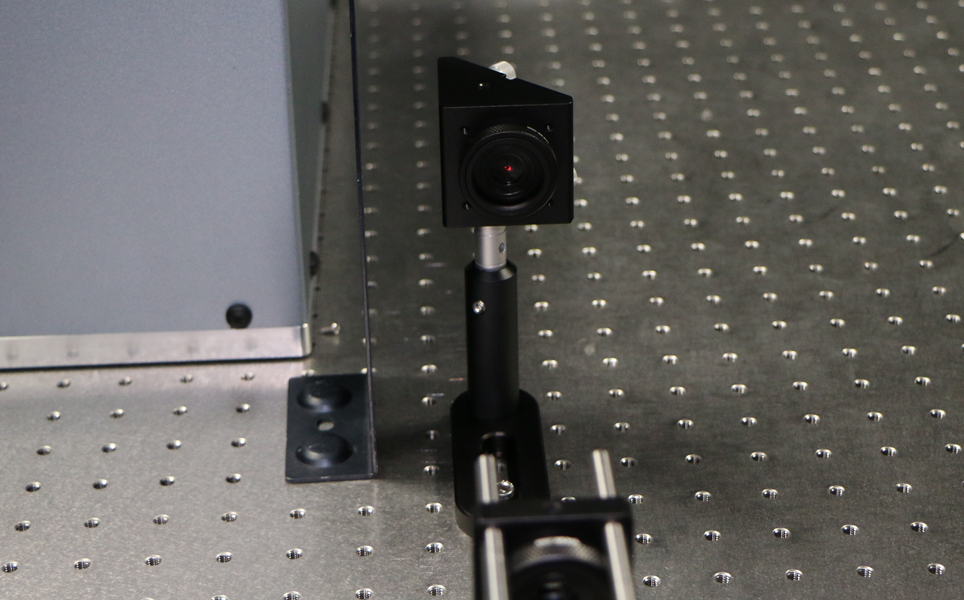
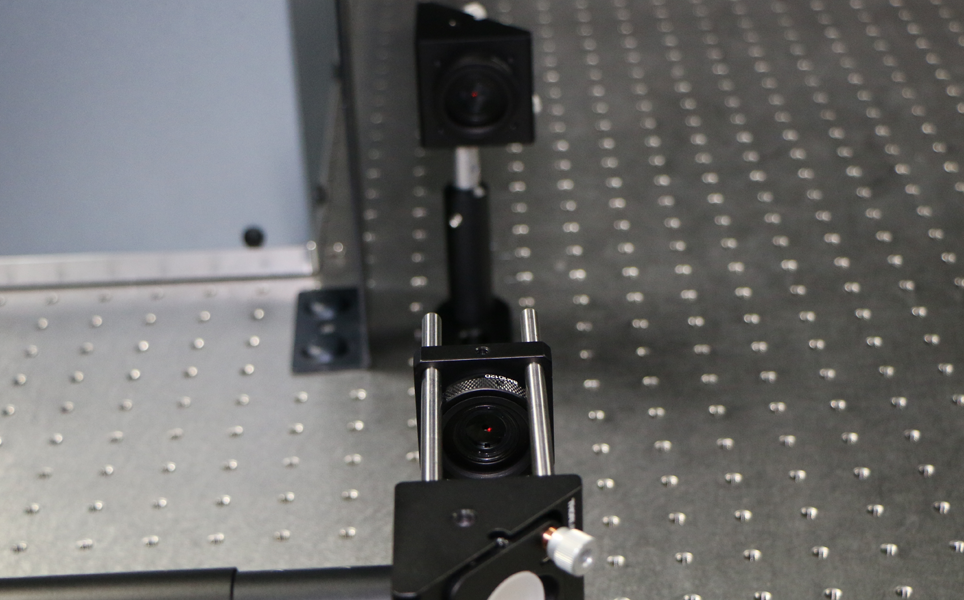
19. Align the periscope – this can be done in multiple ways. To avoid damaging your eyes, we recommend using a camera or camera phone (on selfie mode) to look underneath the periscope, to see if the beam is aligned to the centre of the top periscope mirror.
20. Align from the top of the periscope into the microscope.
21. Insert tubing to encase the laser beam as much as possible, to reduce the risk of injury.
*Walking the beam
We have referred to walking the beam twice in this article. This involves using two steering mirrors to align the beam to the centre of two irises. Here are the detailed steps of how to do this:
1. Using the levers on the first steering mirror (not pictured), align the beam to the centre of the first iris.
2. Open the first iris so that the beam hits the second iris.
3. Using the levers on the second steering mirror, align the beam to the centre of the second iris.
4. Close the first iris again, and re-align the beam to the centre of this iris.
5. Repeat these steps until the laser beam is aligned to the centre of both irises.
If you would like any further advice, please contact our team of experts at [email protected].
Download a PDF version of this guide here
Take a look at other #LabHacks articles
- #LabHacks: Tips for cleaning the optics of your microscope
- #LabHacks: To compensate or not to compensate, that is the question
- #LabHacks: How to reduce the noise around your electrophysiology rig
- #LabHacks: Choosing the best opsin for your optogenetics experiments
- #LabHacks: 14 sharp tips for patch clamping
- #LabHacks: Tips for performing adult animal brain slicing for patch clampers
Sign up to receive our latest news
Find out about Scientifica's latest product releases, company news, and developments through a range of news articles, customer interviews and product demonstration videos.
)