

#LabHacks: 14 sharp tips for patch clamping
By Dr Chris Bladen
Performing patch clamp experiments has often been described as more of an art than a science, and it is certainly true that one of the keys to successful patching is practice. There are a few common issues and simple tasks that are often overlooked, but can prevent a successful day’s patching. In no particular order, here are 14 tips and tricks to help you improve your technique so that you can become more efficient and productive at patching cells.
14 Tips
1. Ready, Steady, Go!
Take the time to ensure that your equipment is set up correctly. Make sure everything is mounted in the best possible location, that your manipulators and sample can easily fit under your objectives, and you can explore as much of the sample as possible.
Sort your cables and tubing to make sure they aren’t pulling on anything because they are too tight. Label and/or colour code cables so that you know exactly what each one is. This helps prevent any confusion if and when you have to troubleshoot problems later.
Things to check before starting are the stability of your equipment (headstage, pipette, manipulator, etc.) and the position and slack of your cables and tubing. Tighten all screws to ensure that nothing can be easily ‘wiggled.' Make sure that all of your rig is clean and in good condition (re-chloride your electrode wire at least once a week (Simple method is to dip in “fresh Chloride bleach for a few mins, but make sure the bleach does not get into the electrode holder and rinse with DDH2O and “dry dab” with kimwipe). Check your grounding wire every day to make sure flakes aren’t getting into any of your solutions).
2. Disassociate yourself from bad cells
Having good healthy cells or tissue is critical to decent patching. If you’re using dissociated cells, optimise your dissociation technique. Incubating your cells in too much enzyme (e.g. trypsin) or for too long, can cause the cell membrane to become fragile and make sealing difficult. Too little enzyme or incubation time may mean the cells aren’t “rounded” properly leading to resistance issues.
Similarly, your brain slices or cell cultures must be healthy to get good seals. When it comes to choosing a healthy cell, Dr Mariano Casado from the École Normale Supérieure says: “Proper optics will dramatically increase the yield of your work. Whether cell choice is backed by fluorescence or it is a pure choice with DIC, oblique or other optics, this is a crucial point of your experiment. I’ve seen students struggling for hours trying to patch dead cells.”
If you find after three or four attempts you can’t get a decent seal; chances are you need to optimise your conditions. Check that everything is ok with the equipment (tip 1), but if you’re still having issues, then you might need to check your solutions.
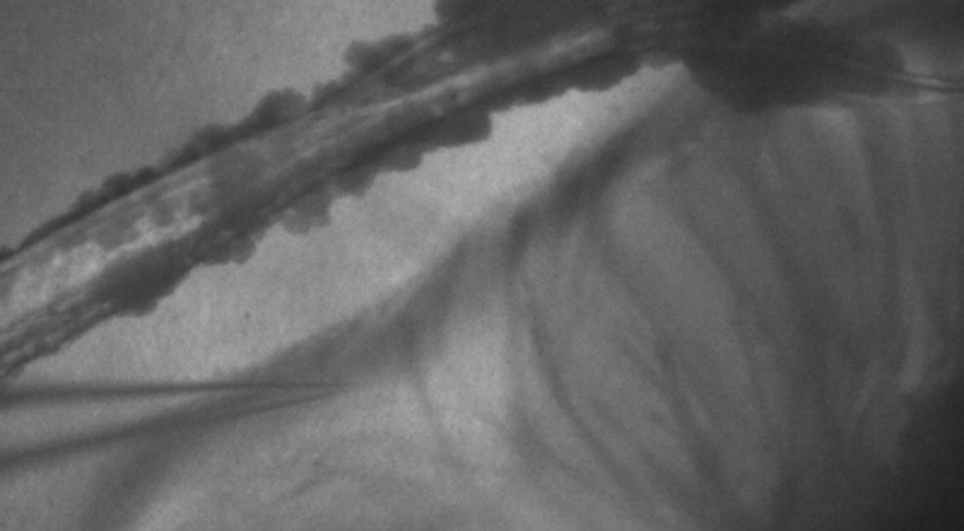 Credit: Dr Rodrigo Avilez
3. The solution could be the problem
Getting a good seal depends on a number of factors including the osmolarity of your internal and external solutions. A general rule of thumb is that the internal solutions should be approximately 10 mOsm less than the external solution (e.g. 290 mOsm internal v 300 mOsm) although each electrophysiologist may prefer slightly different osmolarities.
Dr Jesper Sjöström from McGill University, for example, suggests an internal osmolarity of 290-295 mOsm and an external osmolarity of 315-320 mOsm. He also states that for work on mouse slices in the high-osmolarity regime, the internal osmolarity should be 315 mOsm and external should be 338 mOsm (±2 mOsm).
For the external solution, I make a 10X stock (don’t check for pH or osmolarity yet as this will change on dilution) and keep in the fridge. I dilute this to 1X and check the pH, then filter and check the osmolarity just before use. The diluted 1X stock should be kept at room temp and make just enough to last a few days, after that discard any leftovers. The 10x can usually be kept in the fridge for up to a month depending on the chemical components (aCSF is usually good for up to a month but if you see ‘floaties’ then chuck it out).
For the internal solution, I’d make about 50-100mls of 1X, check the pH, filter and adjust the osmolarity before freezing in 1ml aliquots. 1ml should easily last a day’s patching so use a fresh aliquot daily.
Note: if your internal solution contains chemicals like ATP/GTP that degrade easily/rapidly, you may need to aliquot and freeze these items separately and add internal to theses aliquots.
4. Size matters
When pulling electrodes, a general rule is to use the largest bore electrode as possible. Typically, a large-bore electrode/pipette around 2MΩ in resistance is suitable for whole-cell recording for several reasons. It is easy to break through the membrane using suction, there is less chance of resealing during the recording, and pipette solution is quickly exchanged with the cytoplasm.
However, the size of electrode you use will be dictated by your sample, what part of the cell you’re patching and what you are trying to investigate. For some experiments, using a small electrode is unavoidable, such as in single-channel recording. There is always a trade-off between good seals, great access, cell run-down, and resealing/resistance problems. If you do need to go with a smaller pipette tip (i.e. higher resistance electrode, 3-6MΩ) to get good seals, carefully monitor your access resistance readings, as any change in these parameters pretty much renders your recording useless. Always note in your lab book your access before and after each experiment.
Dr Sjöström recommends that you avoid using old electrodes and ensure that you are using the right puller program and the correct glass.
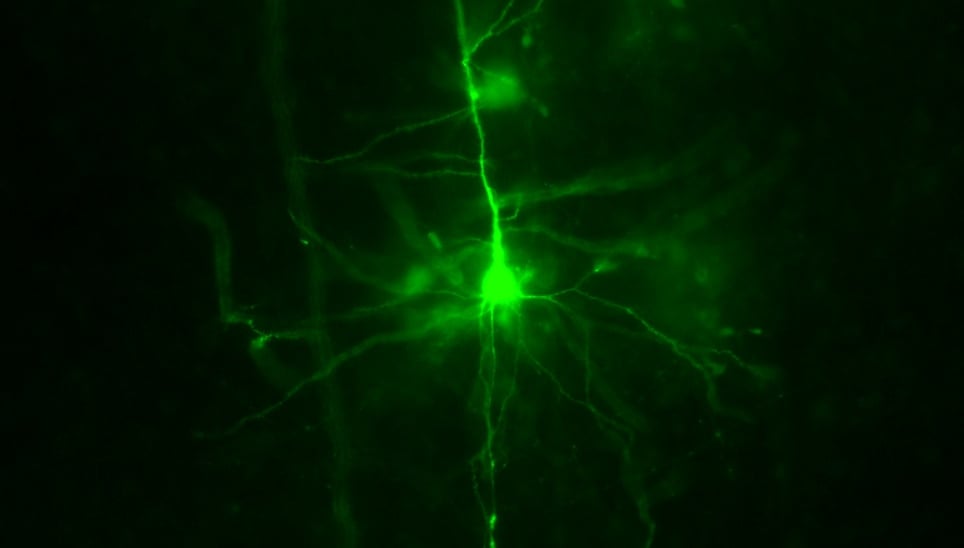
Credit: Dr Brian Mathur
5. A polished ending
Some people don’t polish their pipettes as they think that neurons are easier to patch with unpolished pipettes. Personally, I think fire-polishing makes a big difference in seal quality although over-polishing will have opposite effect. This will be a choice that you can make once you have experience with your experimental setup and know what works best for you.
6. Tiny bubbles
Once electrodes are pulled (I usually pull 10-20 at a time depending on how reliable my puller is that day) and solutions are made, fill the tip and check there are no air bubbles or clogs. Dr Christian Wilms says “Be picky. If your pipette appears to have dirt at the tip or your internal solution has some contamination or shows precipitation, do not hesitate to replace it. You will only waste time if you don’t.” If you can see small bubbles near the tip flick the pipette gently to make the bubbles coalesce and rise to the surface. Additionally, do not overfill the pipette only the tip of the electrode needs to touch the internal solution.
7. Catch your drift
Since you have already checked your equipment is stable, the next thing to check is “pipette drift.” There are several ways to do this, but the easiest way I find is to position your pipette over the centre of your target cell and walk away for 20-30 minutes and then see if anything moves over time. If it does, you have a problem that needs fixing, as pipette drift is one of the leading ways that patchers lose seals during experiments.
The problem is usually caused by loose equipment or leads and cables from the headstage/pipette holder getting caught up on other apparatus and not being able to move freely. Prevent this by taping them down as much as possible. Drift could potentially be caused by faulty manipulators. Most modern manipulators cannot be fixed in-house, but before you start blaming the manipulator, ensure that there is no outside vibration or the load on the manipulator is not above its capacity.
8. The right angle
Pipettes should come in at an angle toward the target/cell at about 45 to 60 degrees, depending on your microscope and the clearance between the objective and pipette. Dr Sjöström points out that it’s important not to rush, but the longer you spend with the tip in the bath the less likely you are to get a good seal.
9. A positive approach
Whether you prefer to use your mouth or a syringe, you should apply a small amount of positive pressure to the electrode as you approach your target cell. This prevents debris in the dish clogging up your tip. Personally, I use mouth pipetting with a 3-Way Stopcock Luer Lock valve attached to the line, so that I can switch off the pressure as I get close to the cell.
If using mouth pipetting, here are some precautionary notes to make sure you don’t inadvertently suck something nasty into your digestive system!
- Always use a relatively long line that doesn’t touch the microscope, table or faraday cage
- Use a filtered tip on the end of your line and a shut-off valve in case you break your electrode and external solution starts sucking up into your electrode holder
- The filter also stops spit getting into your line which will cause uneven suction
10. Feeling the pressure
If you notice/sense that the pressure in your line is decreasing as you approach your target, you probably have a leak, and it’s time to do some maintenance. Most common leaks occur in the electrode holder (several rubber O-rings in them can wear out over time). Where the tubing attaches to the electrode holder is another common source of leaks. Having a good constant pressure (positive or negative) to your electrode is essential to patch successfully.
11. Patching blows (but also sucks)
Switching from applying gentle pressure to gentle suction is a critical point in the sealing process. During your approach, you should be using a “square” test pulse of a few millivolts to indicate the resistance of the pipette (on the computer screen or oscilloscope). As you near the cell, the resistance will start to increase and therefore lower the current response. A general rule of thumb is that as soon as you see an increase in resistance (a lower deflection in the pulse), you should switch to suction, but this can vary between cell types and depends a little on the pressure you are applying.
Note: The switch from pressure to suction should be smooth and quick, and that’s why a lot of “old school patchers” prefer the mouth technique which is also more sensitive than a syringe.

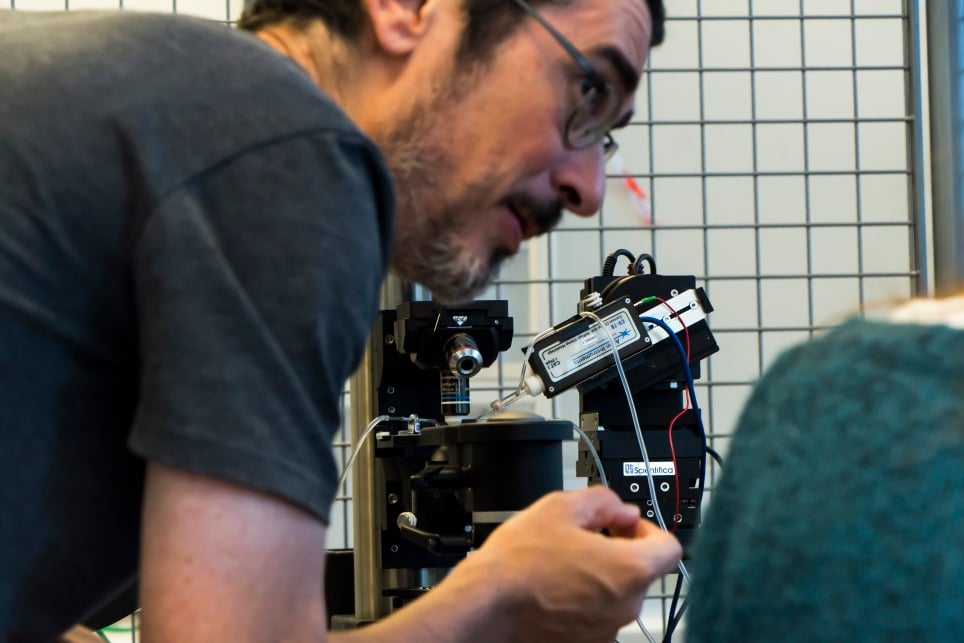
Credit: Dr Brian Mathur
12. Sealing the deal
As you approach your cell, the positive pressure will make a small dimple in the cell. Once you have released the positive pressure and applied a little negative pressure, you should establish a GΩ seal indicating that you are now in cell-attached mode.
After your seal is created, apply the intended holding potential before breaking through. Breaking through (accessing the cell) is the trickiest part of patching, and while some use a current pulse to break through, I think suction is much better and gentler to the cell, especially when using bigger pipettes (<3MΩ).
There is no real empirical way of measuring how much suction to use, especially if you are using the mouth technique, but short, sharp ‘pulses’ are best. This results in the characteristic “kissing sound” often heard in electrophysiology labs. However, kiss like it’s your grandmother (quickly) not your fiancée (slowly)! When using a syringe, use a small 1-3ml syringe and have the plunger already half way up the syringe. Otherwise, the initial pull to initiate suction will likely kill the cell.
Note: Once you have entered whole-cell mode, the sample and electrode tip may move around a small amount, particularly if you are doing multiple patches at the same time.
13. It all comes out in the wash
If patching with perfusion, verify that the perfusion is turned on before you make contact with the cell. If your cell isn’t well attached to your substrate and you create a seal without perfusion turned on, the cell might move and break the seal, or the membrane characteristics might change slightly. If using drugs, it’s also critical that the flow rate for the wash is the same as for the drug. Apart from some channels being ‘mechano-sensitive,’ keeping the ‘micro-climate’ the same as in the control wash is critical for reliable, reproducible results.
14. If at first you don’t succeed, give up
Generally speaking, if you can’t get a GΩ seal within the first few seconds of touching the cell, the chances are this cell just doesn’t want to give up its secrets. If the resistance fails to start increasing significantly as you apply suction or worse, start to decrease, give up. You will save time and frustration by getting a new electrode and going to a new cell.
Never try to “re-use” your electrode or try to patch the same cell that you failed on. The electrode may look clean, and the cell may still look “healthy” but they are not and you are wasting your time. Starting fresh with a new pipette and sometimes with a new dish of cells or fresh slice will save you time and reduce frustration levels. If you follow these steps and still can’t manage seals after a few hours, take a walk, get some fresh air, chat with a colleague, maybe they’ll have some insight. Don’t keep patching aimlessly. The definition of insanity is doing the same thing over and over and expecting a different result. The chances are you have either overlooked something or your sample just isn’t up to the rigours of being repeatedly stabbed.
Final thoughts
Remember, each rig and each protocol will be slightly different, so little tweaks to your technique will become intuitive as you become one with the rig. It takes some time to reach “zen-mode” in patching, so don’t just take a “stab at it” and give up too quickly. Like most things in life, patience and practice lead to improvement and proficiency. Good Luck!
About the author:
Dr Chris Bladen has extensive experience in electrophysiology, molecular biology and biochemistry. He completed his PhD in Neuroscience at the University of Calgary focusing on pain and ion channel physiology, with the intention of understanding the interactions between drugs and ion channels. Chris currently works as an independent consultant for Scientifica.
With thanks to Dr Mariano Casado, Dr Jesper Sjöström, Dr Dale Elgar, Dr Christian Wilms, Dr Marco Brockmann and Dr Fred Ling for their help.
Take a look at other #LabHacks articles
- #LabHacks: How to align your laser for two-photon imaging
- #LabHacks: Tips for cleaning the optics of your microscope
- #LabHacks: To compensate or not to compensate, that is the question
- #LabHacks: How to reduce the noise around your electrophysiology rig
- #LabHacks: Choosing the best opsin for your optogenetics experiments
- #LabHacks: Tips for performing adult animal brain slicing for patch clampers
)