

A 6 step guide to Koehler Illumination
Koehler Illumination is a process that provides optimum contrast and resolution by focusing and centring the light path and spreading it evenly over the field of view.
Sophisticated and well-equipped microscopes fail to yield quality images because of incorrect use of the light source. Illumination of a specimen should be bright, glare-free and evenly dispersed in the field of view.
To allow a microscope to be set up for Koehler, it must have two adjustable iris diaphragms: the aperture iris diaphragm at the substage condenser and the field iris diaphragm nearer to the lamp.
The aperture iris diaphragm controls the angular aperture of the cone of light from the condenser, while the field iris diaphragm controls the area of the circle of light illuminating the specimen.
Technical requirements
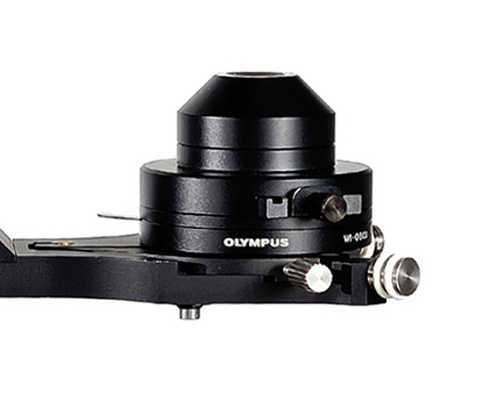
The substage condenser must be capable of being focused up and down and must be fitted with an aperture iris diaphragm that can be opened and closed by a lever or knob.
The light path must be fitted with a condensing lens, a collector lens and a field iris diaphragm that can be opened and closed.
A quick guide - 6 steps to Koehler Illumination
Focusing the condenser
1) Place a thin sample on the stage and focus on it using a 4x or 10x objective.
For an appropriate starting position, make sure the condenser front lens is approximately 0.5cm from the bottom of the coverslip.
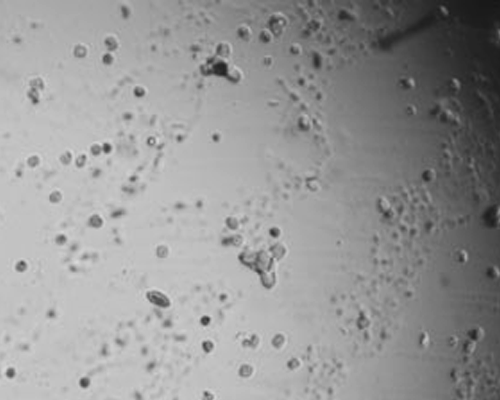
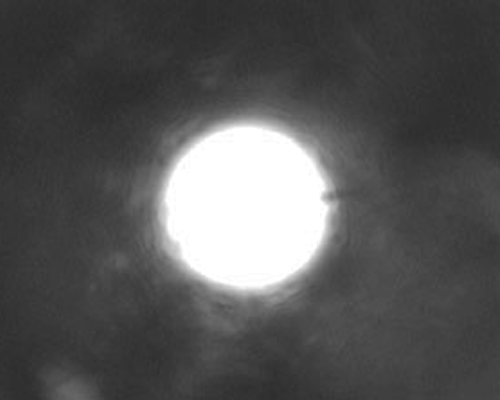
2) Using the field iris diaphragm control, located on the front surface of the substage optics, close the diaphragm right down while looking at your monitor.
You will see a dark circle encroaching on the screen.
Note: If this dark circle does not fall within your field of view, you may need to use the two silver adjusting screws on the condenser arm to centre your condenser.
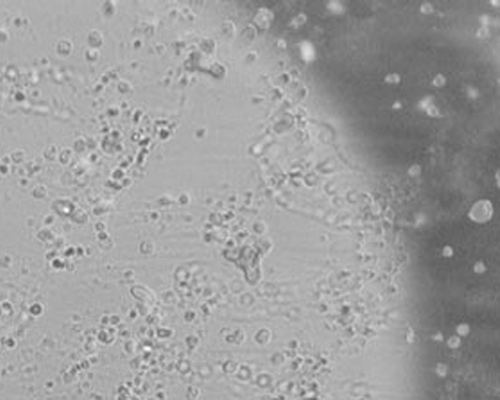
3) Move the condenser up or down until the edge of the dark circle (the blades of the iris) appears in sharp focus on the monitor. Once you have positioned the condenser correctly switch the user interface back to position (I) to avoid accidental re-positioning of the condenser.
Note: Depending on the working distance of the condenser you may be in a close proximity to the sample.
Centring the condenser
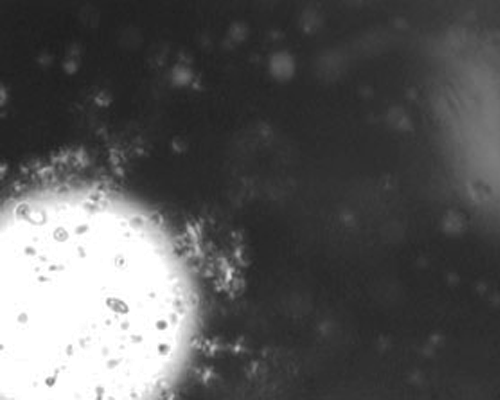
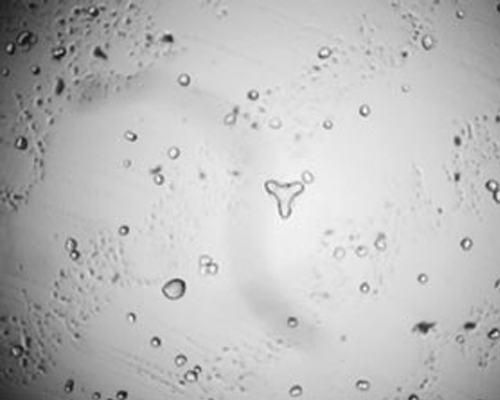
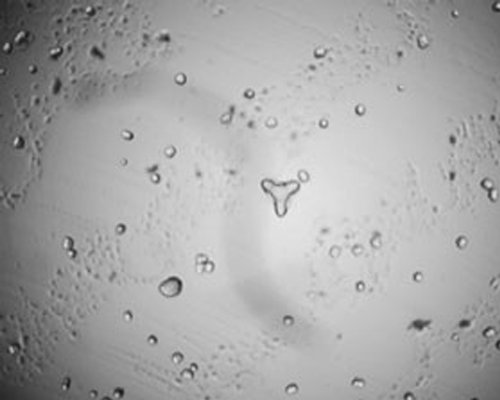
4) Located on the condenser arm are two silver adjusting screws used for centring the condenser. Turn the screws to centre the now multi-edged shape. It should now appear in the centre of the field of view.
This process is made easier in the final stages by opening the diaphragm almost to the edge of the monitor's field of view.
5) Once the condenser has been focused and centred in this way, the diaphragm can be opened so that it is just outside the field of view.
The condenser will remain centred when different objectives are selected, but the field iris diaphragm will have to be adjusted to just outside the field of view at different magnifications.
Adjusting the aperture iris
This important step is often neglected, leading to either suboptimal resolution and/or poor contrast.
6) Locate the control for the aperture iris, which will often be a thin silver lever protruding from the condenser. With the condenser in place, focused and centred, the iris should be closed down so that it occupies the outer 20% or so of the field. This increases the contrast, making observation easier.
Although some specimens may need variation on the 20%, beware of closing the iris too much as resolution will be drastically reduced.
Although the human eye will accept sub-optimal images, once these images are captured by camera, the results will speak for themselves (take a look at some of the photomicrographs in scientific journals and judge for yourself!).
Note: A more accurate way of adjusting the aperture iris is to note the numerical aperture (or NA) on the objective, then set the NA on the condenser to 20% less.
For example, with a 40x objective with a numerical aperture value of 0.65, set the graduation on the condenser to 20% less, approximately 0.5.
Taking a little time to check your microscope before each use will be well worth the effort.
If you would like further assistance we have a wealth of experts at Scientifica who can help.
Download a PDF version of this article:
Koehler Illumination Guide
Banner Image Credit: Michael W Davidson/Florida State University
Sign up to receive our latest news
Find out about Scientifica's latest product releases, company news, and developments through a range of news articles, customer interviews and product demonstration videos.
)